Created with a trial version of ScreenSteps
This lesson will show you how to set your Time Zone preferences in Salesforce. Setting your time zone correctly will help Salesforce display alerts and other time related information correctly.
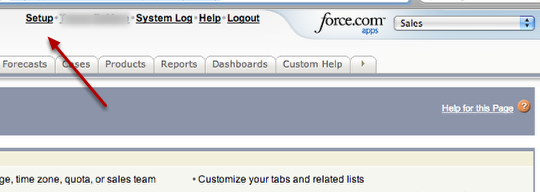
Select Setup
Login and select Setup.
Select Personal Information
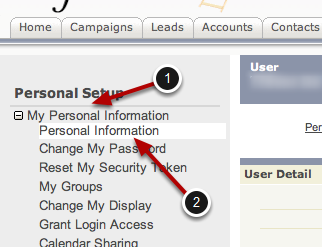
Select My Personal Information (1) and then Personal Information (2).
Check and Edit
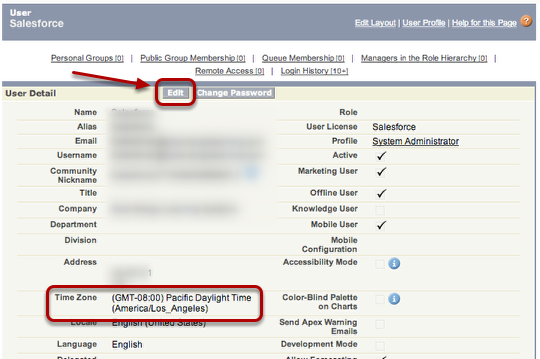
Check your Time Zone setting. If it isn't correct then select Edit.
Set Time Zone and Save
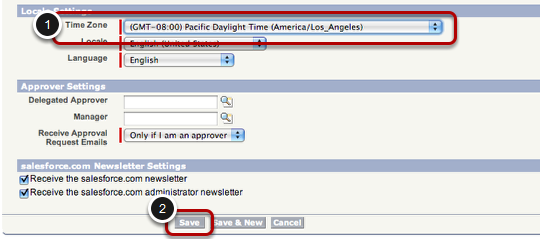
Scroll to the bottom of the page, select your Time Zone and select Save.
That's it!
That is all you need to do. You time information should now be displayed correctly.
